Configure SQL Server Logins
applies to: nutraCoster 3.0
nutraCoster Setup automatically configures SQL Server logins. Use these instructions if you need to configure logins manually.
This procedure requires Microsoft SQL Server Mangement Studio 2014 or SQL Server Management Studio 2016. This is a free utility you can download from Microsoft at the following location.
Microsoft SQL Server Mangement Studio
Configure SQL Server Login
- Open Microsoft SQL Server Management Studio.
-
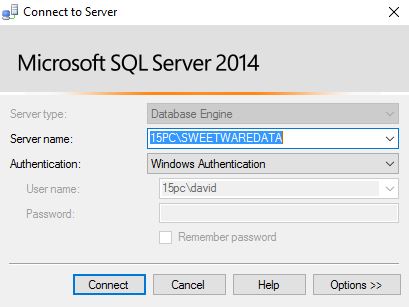
In Connect to Server, set:
- Server type to Database Engine.
- Server name to "xxx\SWEETWAREDATA" (where "xxx" is your computer name or domain name).
- Authentication to Windows Authentication.
- Click Connect.
Connect to Server
- In Object Explorer, expand Security, expand Logins. If nutraCoster Users is not already listed, proceed to step 4.
- Right click Logins and select New Login...
-
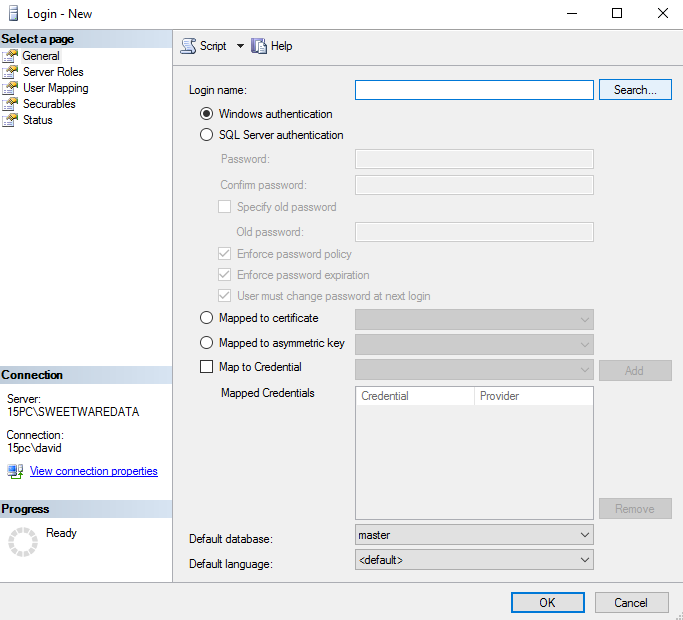
Under Select a page, General:
- Under Login name, select Search.
General
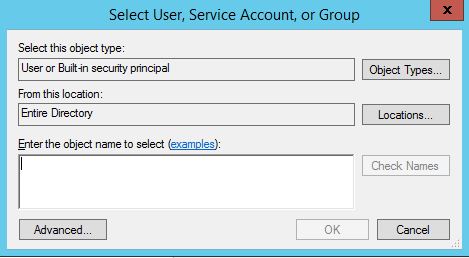
- In Select User, Service Account, or Group, click Object Types...
Select User, Service Account, or Group
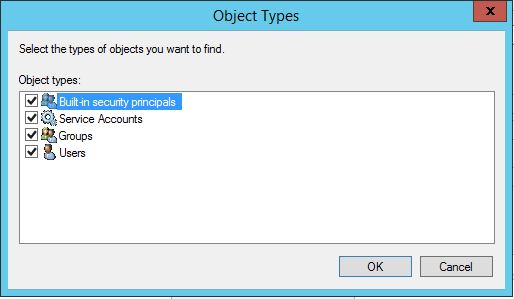
- In Object Types, select Groups. Click OK.
Select Groups
- In Select User, Service Account, or Group, enter "nutraCoster Users" into Enter the object name to select field. Click Check Names. Click OK.
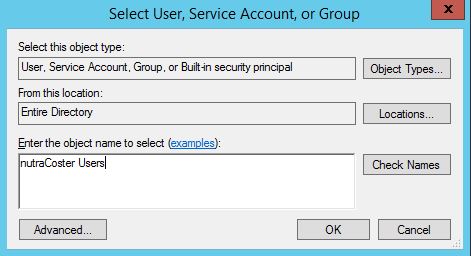
nutraCoster Users
- In Default database, choose CostDB.
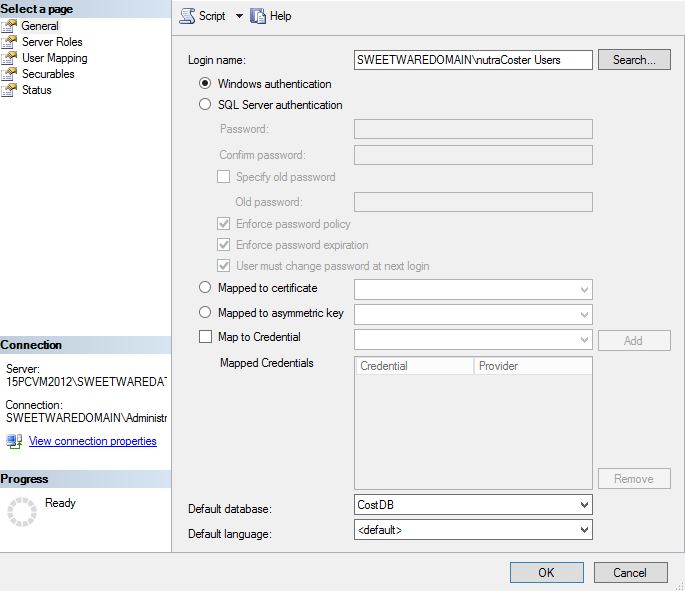
General
- Under Login name, select Search.
-
Under Select a page, User Mapping:
- Under Users mapped to this login, select CostDB.
- Under Database role membership for: CostDB, select db_owner and public.
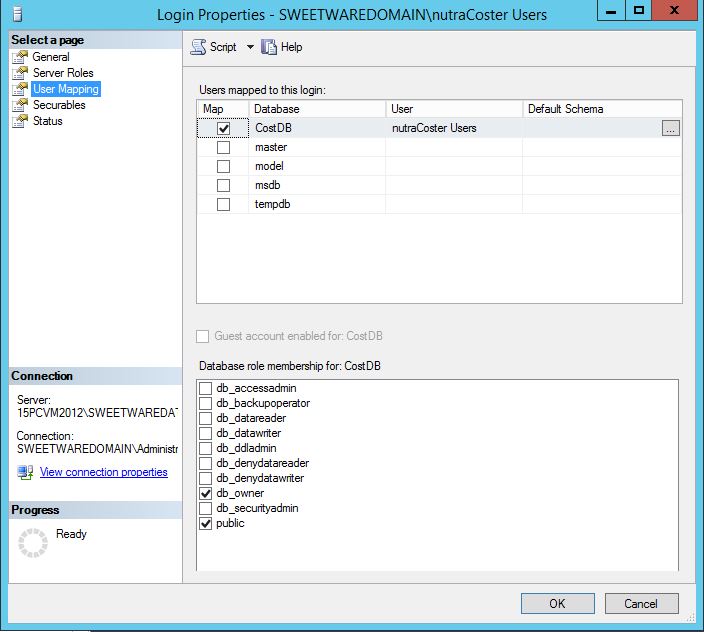
User Mapping
- Under Select a page, Securables:
- Click the Search button. Under Add Objects, select The server "xxx\SWEETWAREDATA", and click OK.

Securables
- Under Permissions for "xxx\SWEETWAREDATA", Grant permissions for Connect SQL and View any definition.
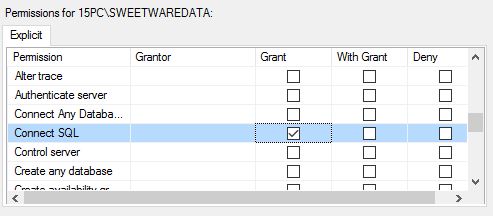
Securables, Permissions
- Click the Search button. Under Add Objects, select The server "xxx\SWEETWAREDATA", and click OK.
- Click OK to finish.